-40%
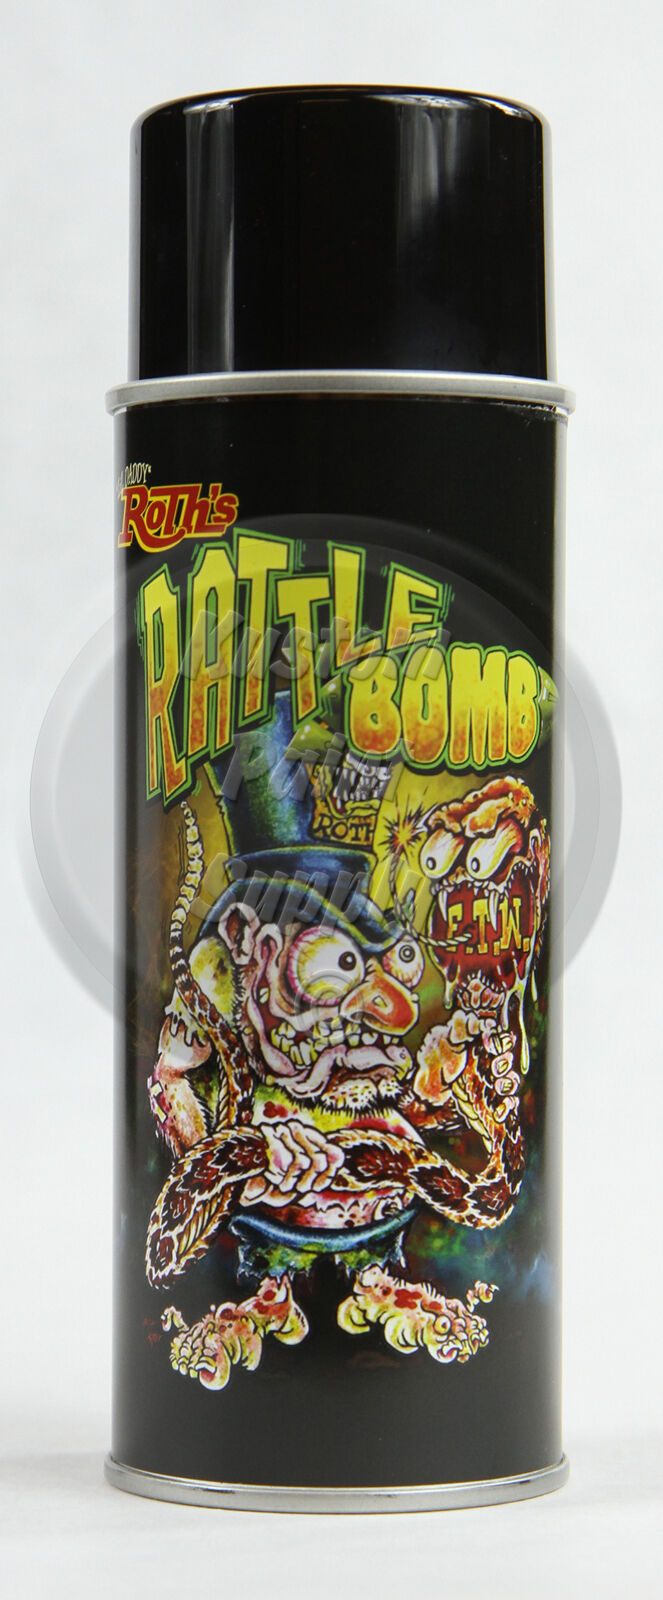
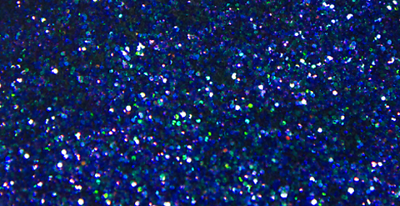
Lil' Daddy Roth Rattle Bomb Flake - Cherrie Pie - 12oz Aerosol
$ 10.55
- Description
- Size Guide
Description
Product shown over Black Basecoat and over Matching Basecoat.Metal Flake is a staple in the kustom painting world. The problem has always been the tons of extra work involved when painting with flake - it makes a mess in the booth and the spray equipment clean-up can be a headache. All the extra hassle for doing small jobs has always scared people away.
We ve also seen some metal flake paint jobs that were such a disaster because the flakes they used were just too large to go around the edges of doors, hoods, etc. The fact is, you can still get big sparkle out of small flake, regardless of how you apply it.
Here's where our Roth Metal Flake Rattle Bomb aerosols come in:
At .004 in size, our flakes are small so they give great coverage to even the smallest edges you can find in any application.
Perfect for touching up areas or finishing interior pieces when you don t want to hassle with getting the spray gun out again.
Our colors are the same product we sell as dry flake.
Perfect for color matching accessories like trim, wheels, interior parts, motorcycles, bicycles and all kinds of craft hobbies.
And last but not least - easy clean up!
The Rattle Bombs work together as a system with each product fulfilling a step:
Roth Rattle Bomb Basecoat
See the lineup of Rattle Bomb Basecoats
Roth Rattle Bomb Flake
See the lineup of Rattle Bomb Flakes
Roth Rattle Bomb Kandy (Optional)
See the lineup of Rattle Bomb Kandies
Clearcoat of your choice
Check out our Clearcoats
You can even mix them up for some wild color combinations!
Here s how it works:
Creating a great Roth Metal Flake paint job is super simple with our Roth Rattle Bomb System. Choose your flake color first, then choose your basecoat color. We recommend choosing the same color base as your flake for maximum coverage. Apply your basecoat over the primed surface, then take your time laying down even layers of flake over the dry base. Next, go over that with a Kandy (if desired) and then top coat it all with some clear. That s it. No mess! No fuss!
Detailed Steps
1. Prep
For prepping a car for flake, treat it just like you were going to clearcoat it. Make sure all corners and edges are properly masked off. Some people start off by wet sanding at 400 grit, and end up finishing it at 600. After wet sanding, wipe the car down with wax and grease remover, and let it dry.
2. Basecoat
Pick out a basecoat that s close to the same color as the flake. Spray the basecoat, be sure to cover all the primer, and let the basecoat flash. Once the basecoat has dried, it s time for flake.
3. Flake Layers
Just like any other stage of the paint, you want to start out at the highest point and work your way down. By this point, you've already primed and basecoated the panel, and should have a plan to make your way down it.
Start by fogging the whole pane. You want to have enough down to stick, but not so much where you will get runs. Once you've covered the panel, focus on any curves or harsh bodylines. Pay extra attention to peaks and the edges of your panels, especially if you want to wet sand the final clearcoat and you don t want to burn through.
Once you ve sprayed enough flake for the look you want, you need to wait for the clearcoat to get tacky. To see if it is time for the clearcoat, find a spot on the masking tape right next to the last part that you sprayed. Touch it with your fingertip, and slowly pull it away. If it sticks to your finger and is tacky when you pull back, it s ready for clear, otherwise wait until it gets tacky.
4. Optional Kandy Layer
Kandy can be challenging to lay out. It has a transparent tint and must be sprayed out evenly in order for the color to come out uniform. Basecoats should be sprayed out even and smooth in order to avoid blotchy kandy jobs. Do not panel spray. Try to shoot entire sides so the kandy comes out even on the complete area.
5. Final Clearcoat Layer
The clearcoat is a clear, shiny layer of paint that s applied over the basecoat color. It protects the paint from UV and is necessary to make the paint shine. The basecoat/flake/kandy contain the color and the clearcoat brings them to life.
This is as straightforward as it sounds. Metal flake only pops when it s buried in clearcoat, so you need to spray an additional clearcoat over your flake. Again, start at the top, and clear your work until all of the flake is buried.
After you ve sprayed your final clearcoat, let it tack until it gets stringy, then pull off the tape and masking. Be careful! If you let the clearcoat dry on the tape, sometimes it will take off chunks of paint with it when you finally pull it off. So save yourself the headache and unmask it when the clearcoat is still relatively sticky.
Caution
For best results, Roth Rattle Bomb aerosol cans must be kept warm. If you are in a cold weather area, be sure to warm up the can before use by placing it in a sink with warm water. Cold cans will cause blushing with a bad milky effect to the paint due to separation.
Check out our other Lil' Daddy Roth Rattle Bombs!


